


The eagle-eyed among you might remember that in my last post I said I’d write about my holey Hylo trainers this week. And it doesn’t take such keen vision to notice that the photo you see before you is not of a trainer. It’s a Toms shoe. My ‘house shoe’ to be precise.
I’ve written before about the importance of planning and my need to embrace imperfection in my mending and writing. Well, this time it’s all about the pivot. I was geared up today to mend my trainer and had the post mapped out in my head. But when I got out my mending kit and started planning the repair I discovered that it wasn’t going to work as I’d intended.
I had wanted to darn a patch over the hole but the fabric upper of the trainer wouldn’t allow it, even with the finest of needles. It’s always worth having a back-up plan for a repair so that any necessary pivots can be navigated with ease and in a timely fashion. A planned pivot. I had one in the back of my mind should this repair require a change of plan. I just didn’t have the materials needed so had to think on my feet for this week’s post.
A few years ago, I carried out this repair on my Tom’s house shoes, so-called because when I’m working from home I like to wear something nice on my feet rather than my cosy, slouchy slipper socks. This surface darn method was the same technique I’d planned to use on my trainers so I thought it would be a nice one to share this week.
I bought these Toms in a local charity shop. They were brand new but being cream, they were totally impractical for running around outside with two young children. I get very chilly feet in our basement kitchen (which sometimes doubles as my office) and these have been the perfect solution.
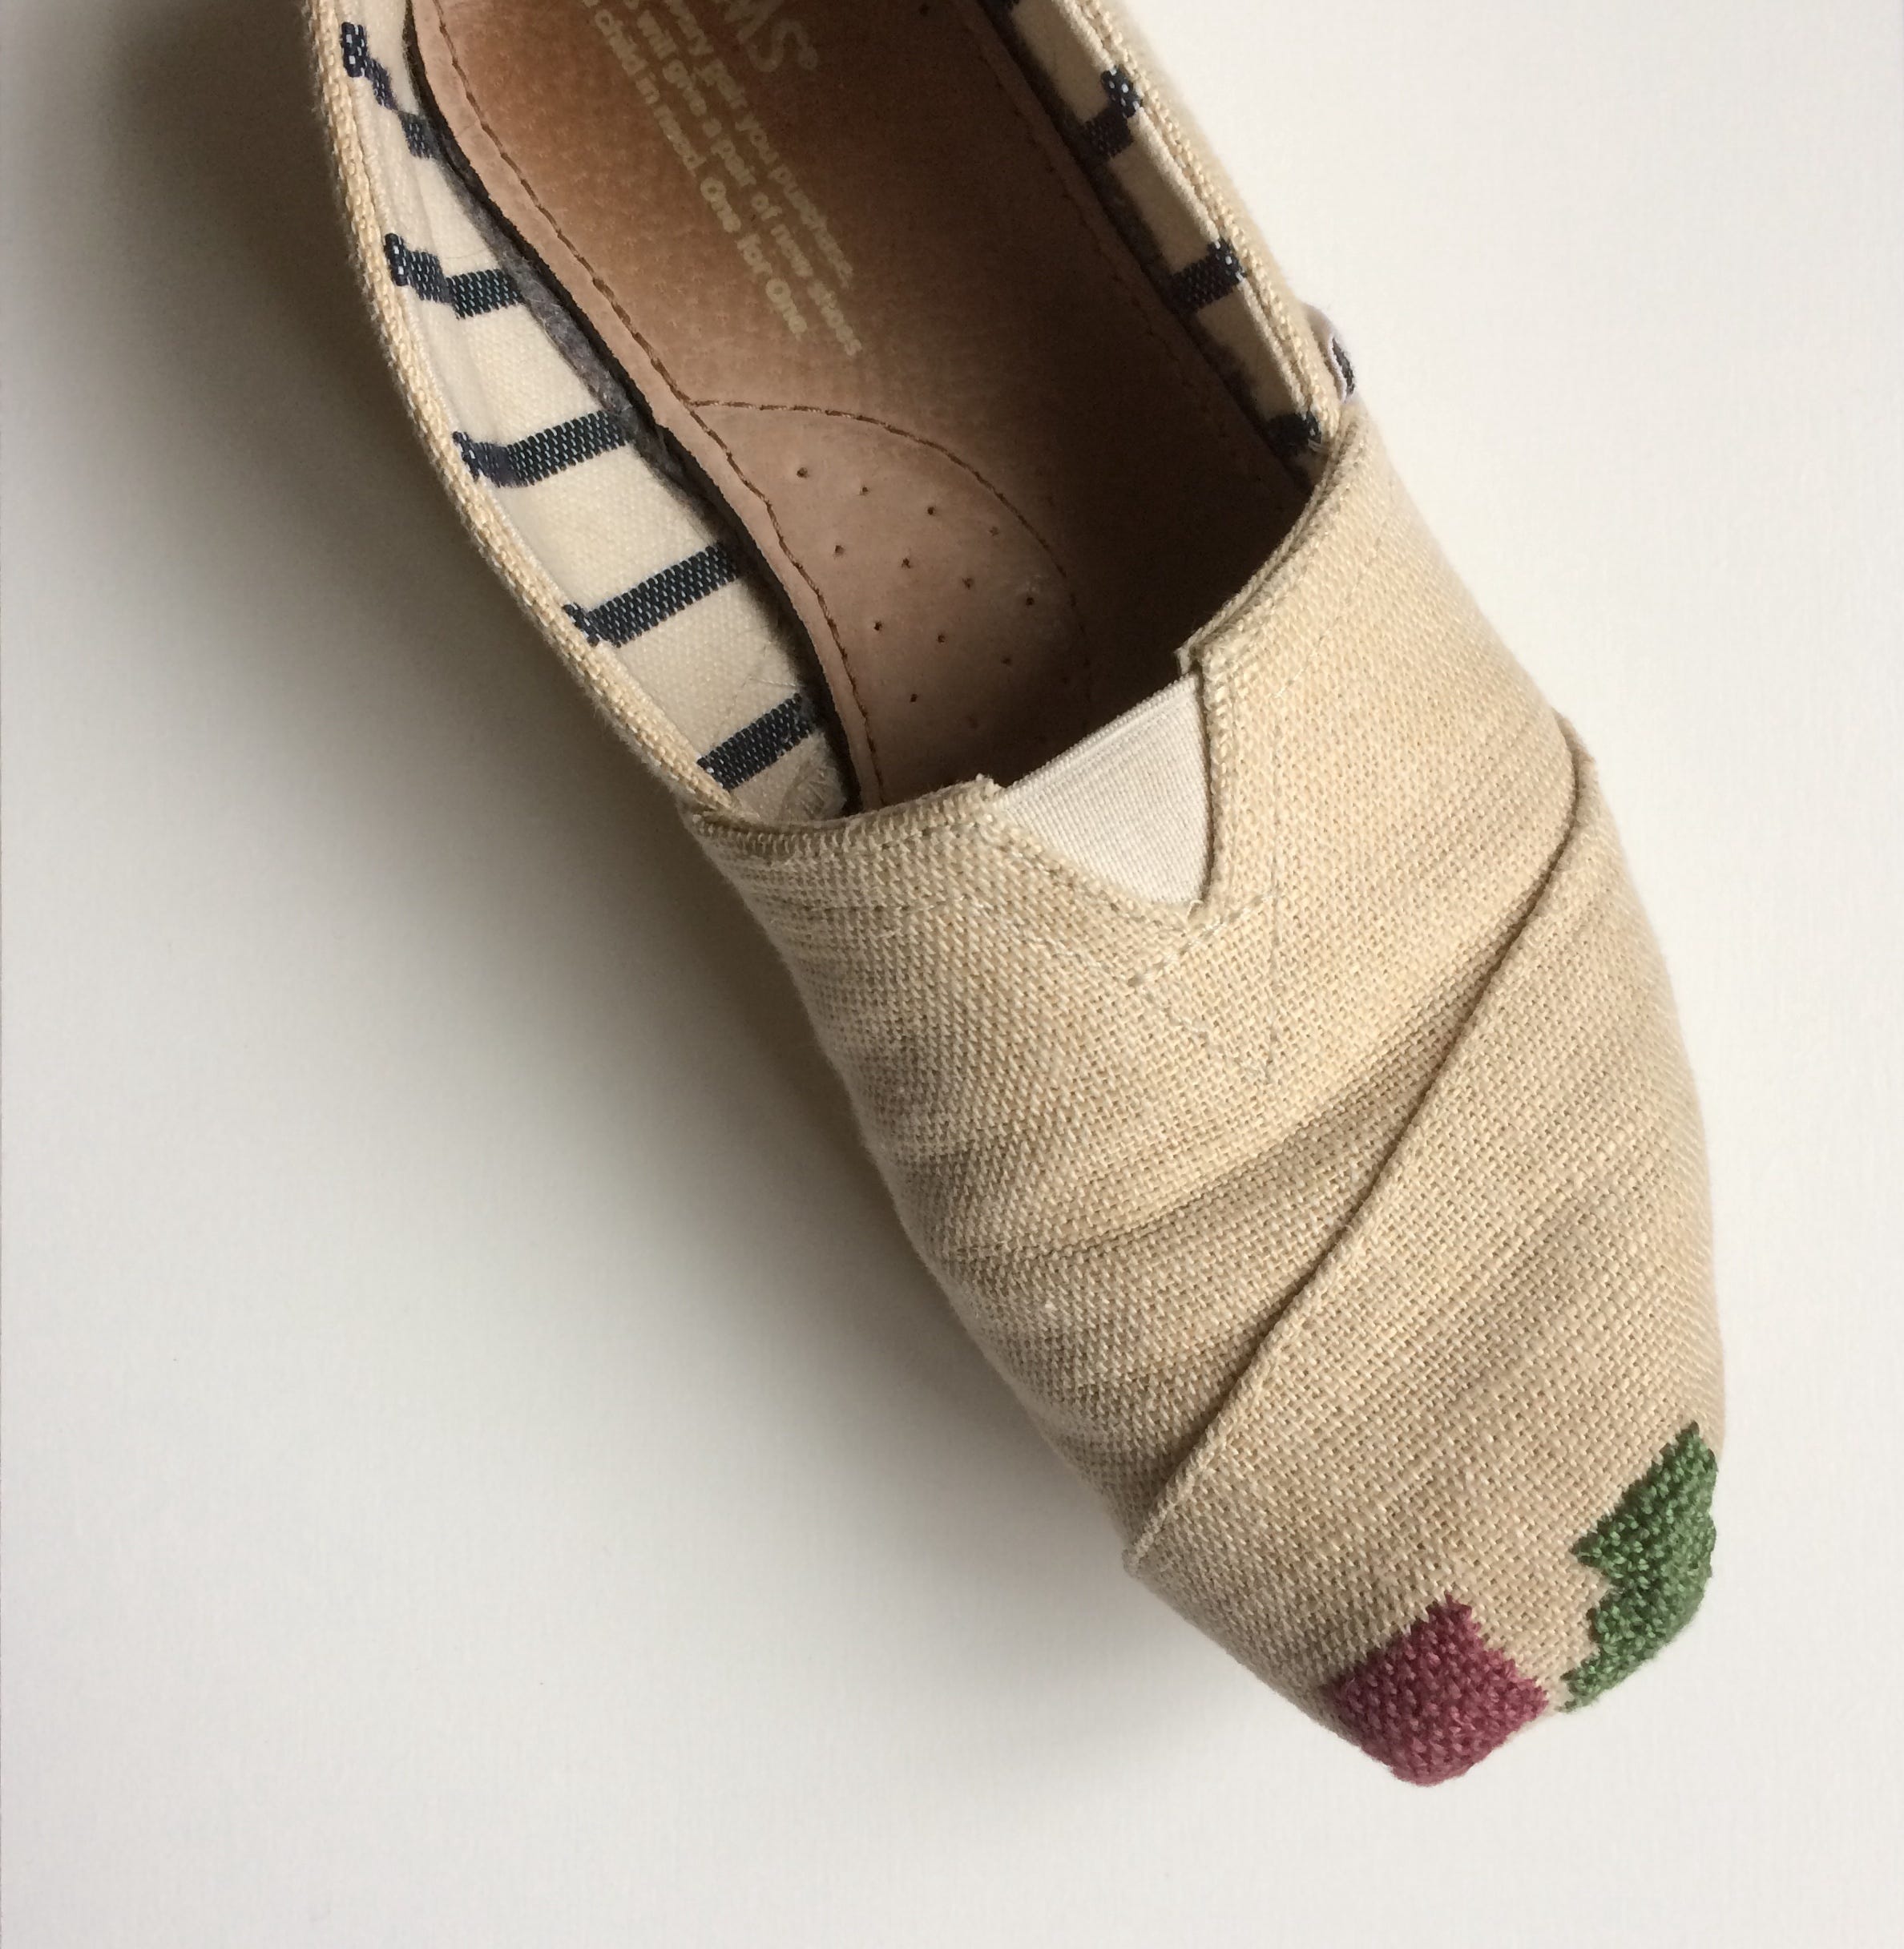
After months of use my house shoes started to wear on the toe so I got my mending kit out to repair them. A little bit of visible mending and they looked event better than new. Now, when I’m working at home and feeling tired or uninspired, I can look down and smile at my little darned patches. They always give me a boost.


How I did this repair:
I started by darning a vertical warp over the damage on the right front side of the shoe using purple pearl embroidery thread. It was fiddly because the backing of the shoe upper was fairly tough and it was tricky to ensure I passed the thread up from the bottom to the top in the correct place, aligned with the fabric weave.
Next I wove the weft horizontally through the warp to create a darned patch
There were areas and angles that were difficult to darn but needed reinforcing, so I did a few straight stitches to finish the repair.


My mending kit for this repair:
Purple pearl embroidery thread that has been kicking around in my kit for years - I have no idea where it’s from.
Green pearl cotton from DMC
Strong sharp needle
Snips / scissors
A thimble would be handy, although I didn’t use one

What’s coming up this week:
My mending pile: I need to find a way to tighten the strap around a pair of sandals to stop them falling off. I may report back on progress at some point!
Next week on The Mending Kit: fingers crossed I’ll be able to get the materials together to repair my trainer and feature that on here next week…a little later than planned.
Want to read some more of my posts about darning? You can find them here: Darns from The Mending Kit.
Thank you for reading The Mending Kit. If you’re enjoying it, please do share it, ‘like’ it, subscribe, or leave a comment below. It really means a lot to get feedback!