

Darned presents
A repair commission on a Falkland Islands wool jumper

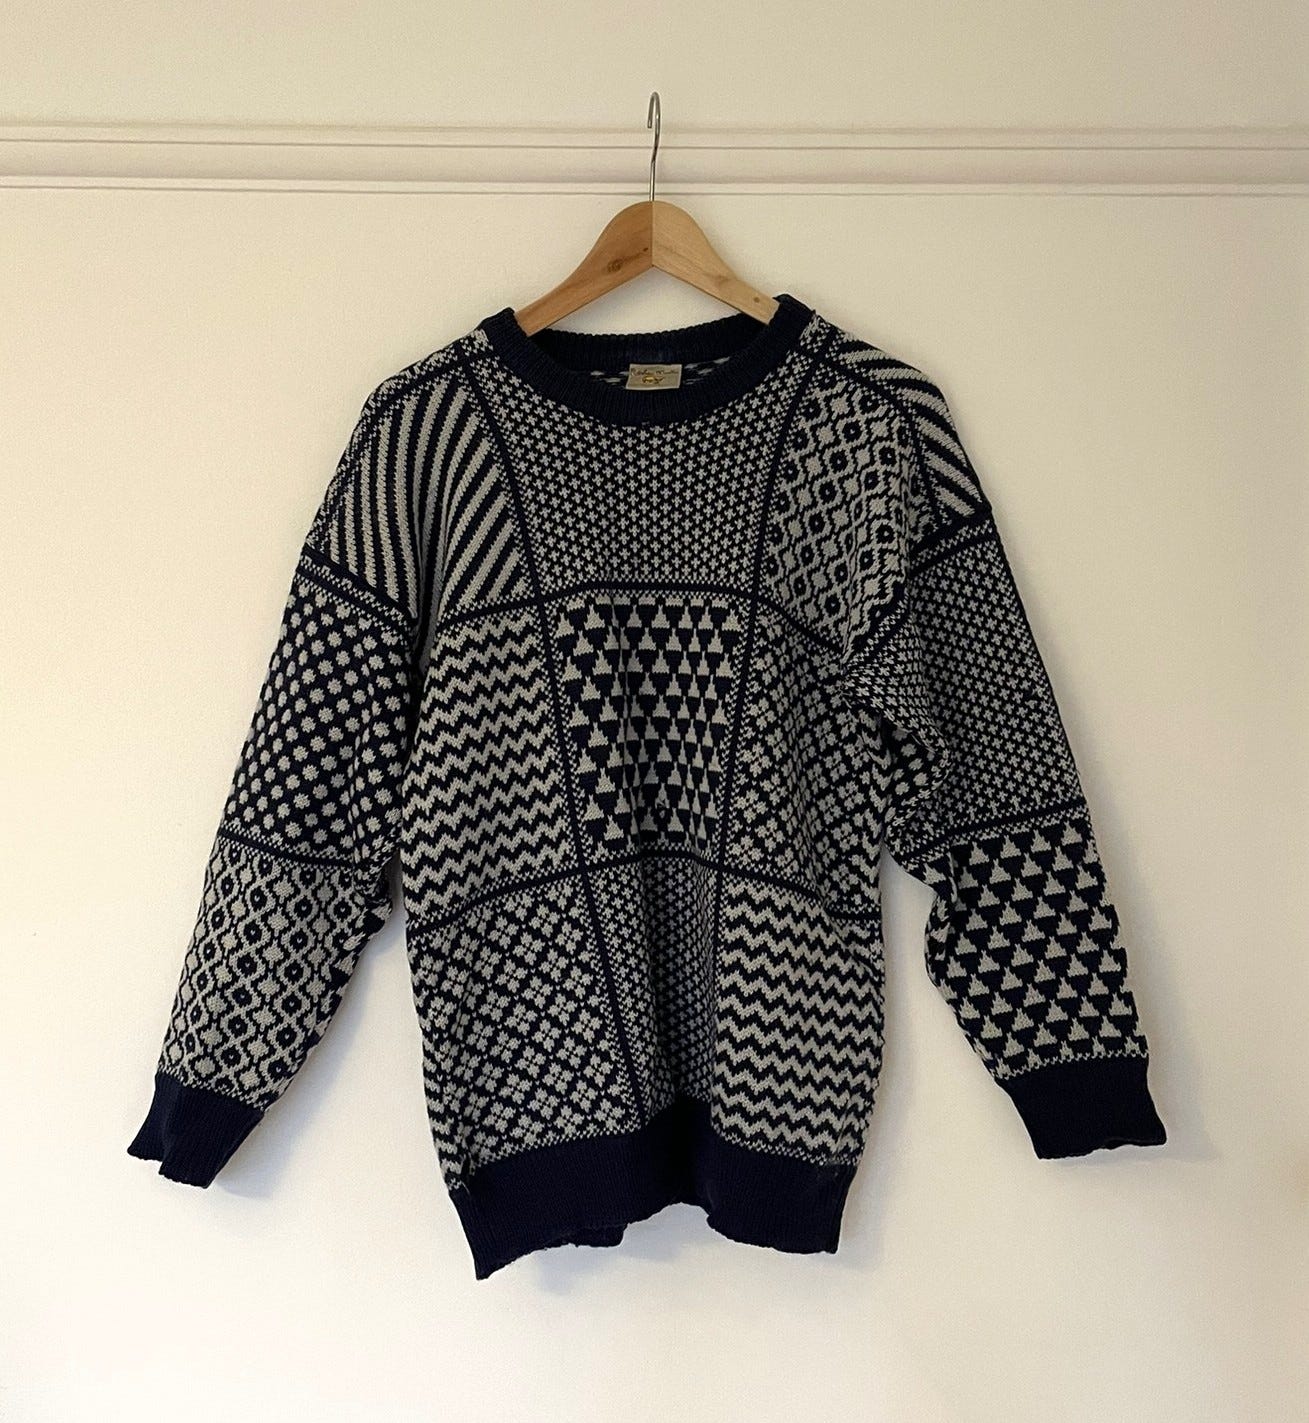
I love weaving mending commissions into my working hours. Reviving or restoring a beloved knit for another human makes a welcome change from sitting in front of my laptop. What’s really cool is when someone commissions me to repair something for a loved one as a gift. Instead of buying a Christmas or birthday present, they pay me to give new life to a treasured old garment.
Just before Christmas I had the privilege of repairing a very cosy jumper made of wool from the Falklands Island that belonged to my client’s sister. It looked straightforward from the pictures she sent me, however it’s often not until I look at a garment itself that I understand the extent of the damage and the repair required. What I couldn’t see from the photos is that the jumper had a kind of double-knit construction so I couldn’t get to the back of the damaged stitches to do a traditional stocking darn.


A darned woven patch on the surface looks good, but depending on the knit it isn’t always the most secure option, and I didn’t want to risk the repair coming unravelled. My client thought her sister would prefer a less visible darn, so that choice also impacted the technique I used for the repair. After a bit of thought about the best approach, I chose Swiss darning which is a method of recreating the missing and broken stitches (see photos above).
I searched through my kit for some suitable yarn and found navy and cream darning yarn. They are a bit lighter in weight and not quite as springy as this Falklands wool but sourcing an exact match can take a while and as time was of the essence, I used what I had.


My mending kit for this repair:
Darning yarn in navy and cream
Darning needle
Snips or scissors
Darning mushroom (you can also use a ladle, tennis ball or orange)
How I did this repair:
As with some of my previous Swiss darns, instead of writing a complicated ‘how to’, I’m sharing a tutorial from Heather Sorta: https://www.youtube.com/@HeatherStorta (search ‘Swiss Darning’ on her channel to find the tutorial).


A few tips and notes on my process:
I tidied up the loose ends of wool by pulling them gently to the back before securing and snipping them
I stitched a scaffold with green thread to stabilise the hole (see images above)
I’m left-handed so found it easier to begin darning from left to right. I started at the bottom just to the side of the hole, making a duplicate stitch to recreate the damaged knit.
Once you reach the hole you create rows of loops that you link up when you get to the row above (see video)
For the slightly pulled stitches at the neckline I wove some stitches through and up to secure the knit and gently draw the rib back together

What’s coming up this week:
My mending pile: I can barely find it - we’re having building work and the mending baskets are buried underneath various storage bags.
Next week on The Mending Kit: as above - it rather depends on what I can find!
Want to read some more of my posts about darning? You can find them here: Darns from The Mending Kit.
Thank you for reading The Mending Kit. If you’re enjoying it, please do share it, ‘like’ it, subscribe, or leave a comment below. It really means a lot to get feedback!