


Last week I featured a darned cuff repair on my gorgeous orange cardigan and this week it’s all about the buttons!
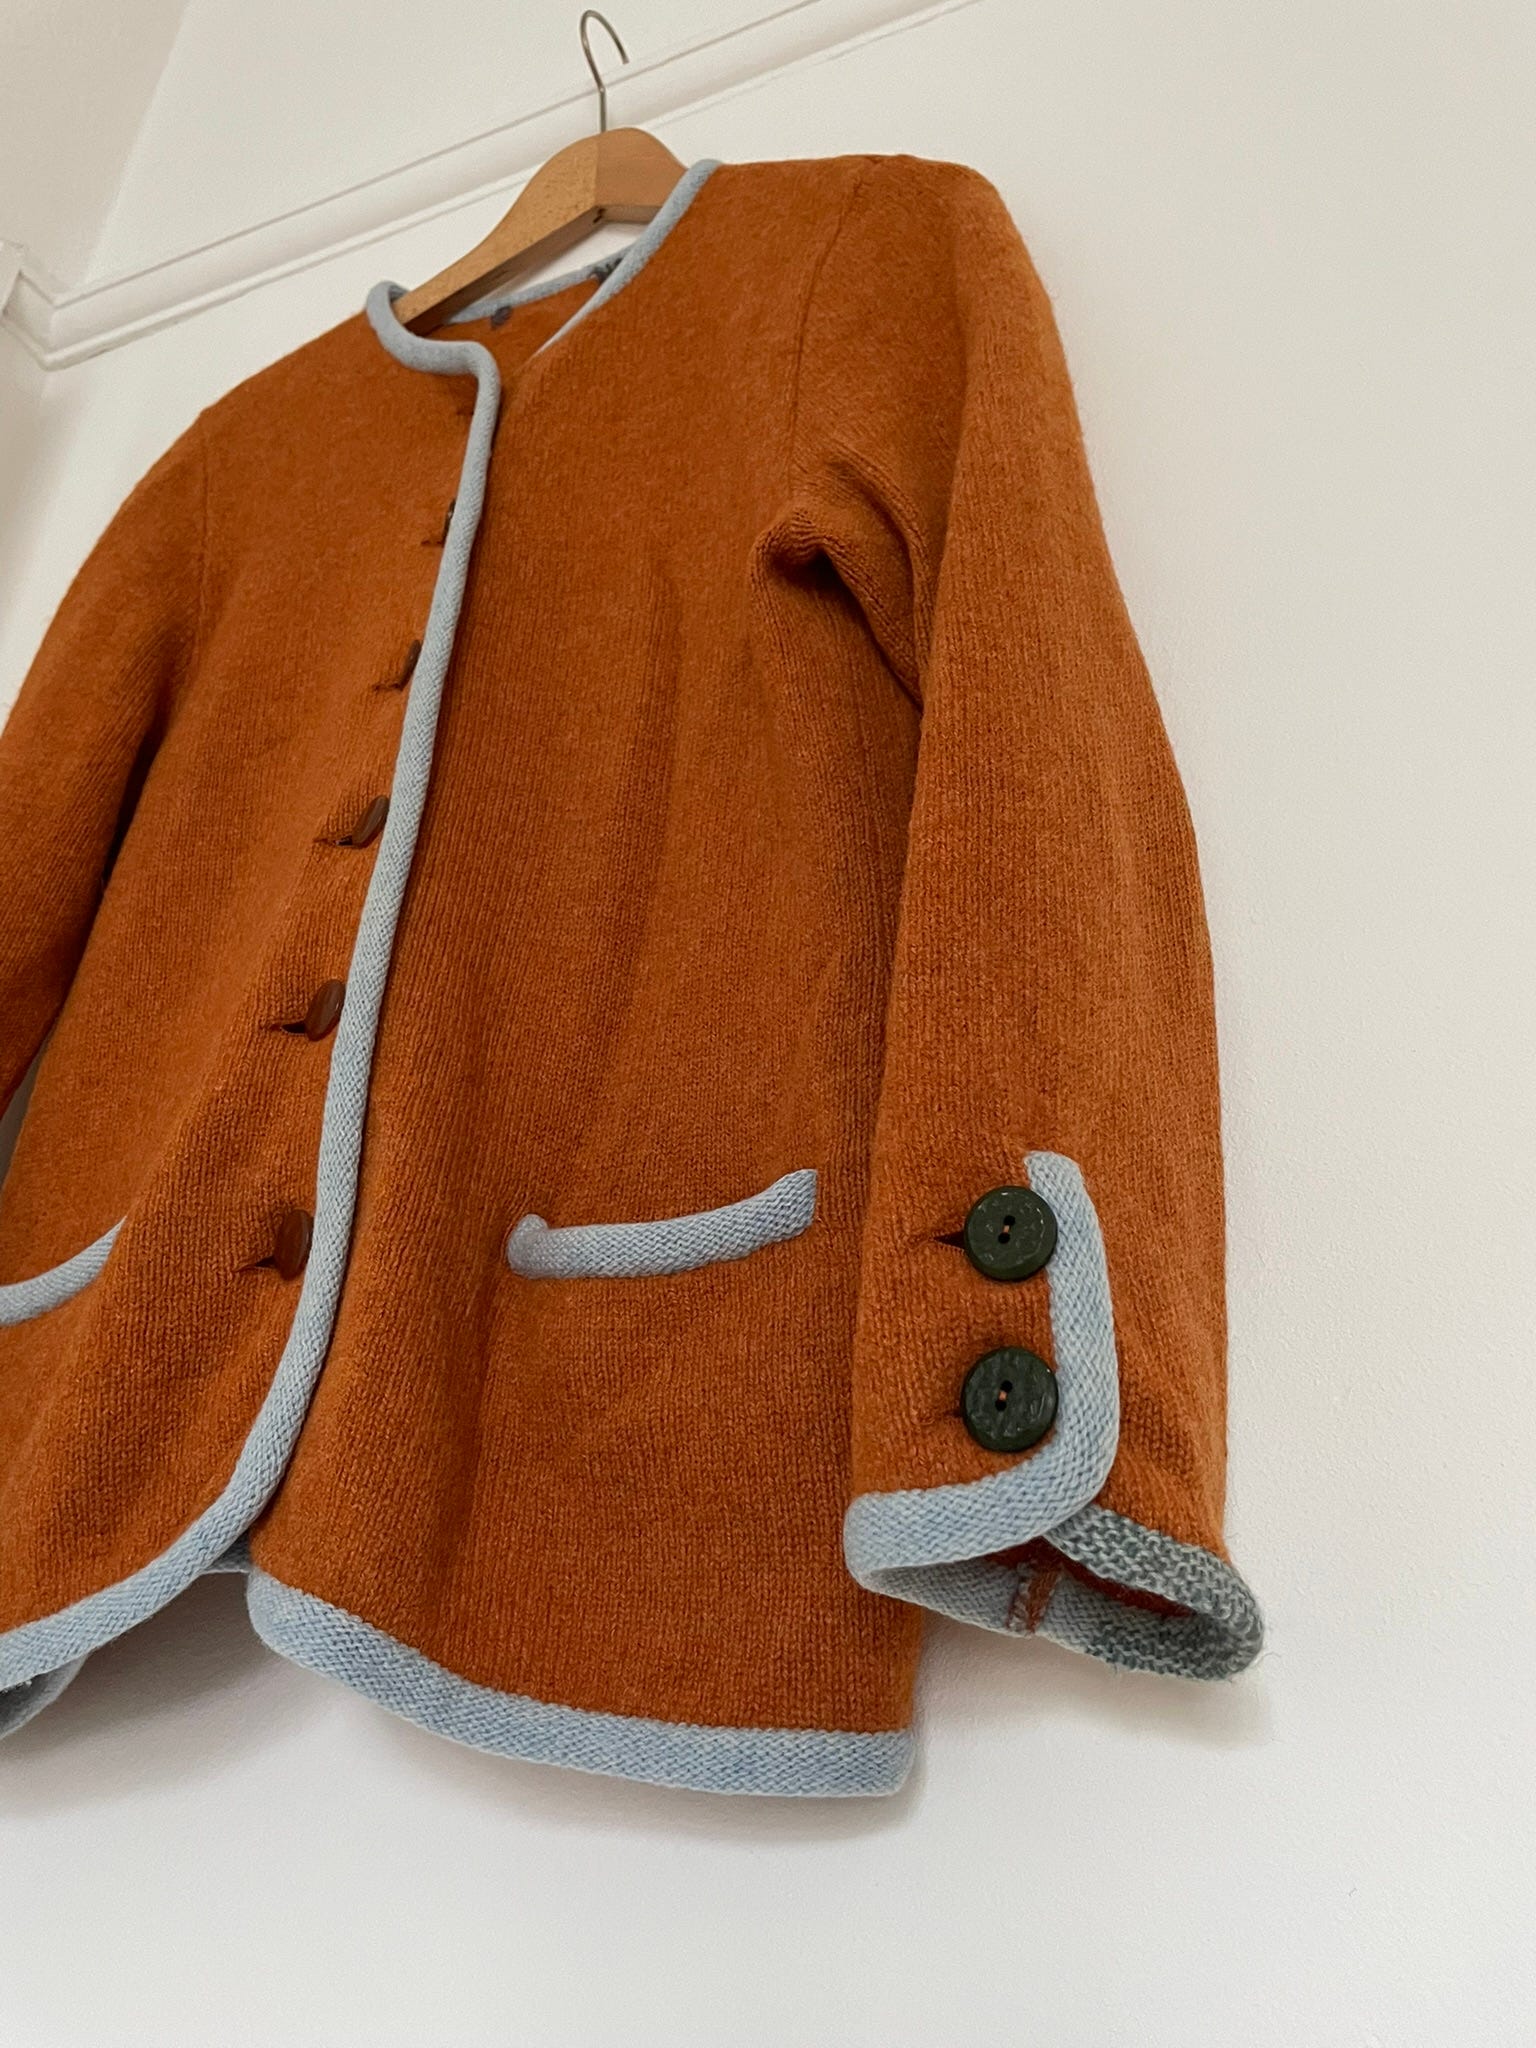
When I bought my orange wool knit in a local charity shop it had garish gold buttons that wouldn’t have looked out of place on Dynasty. The Austrian-made Shetland wool cardy is amazing quality but the buttons, well, they had to go (in case you haven’t read last week’s post, I bought it for a mere £8.99 but these knits cost in the region of £250 new).
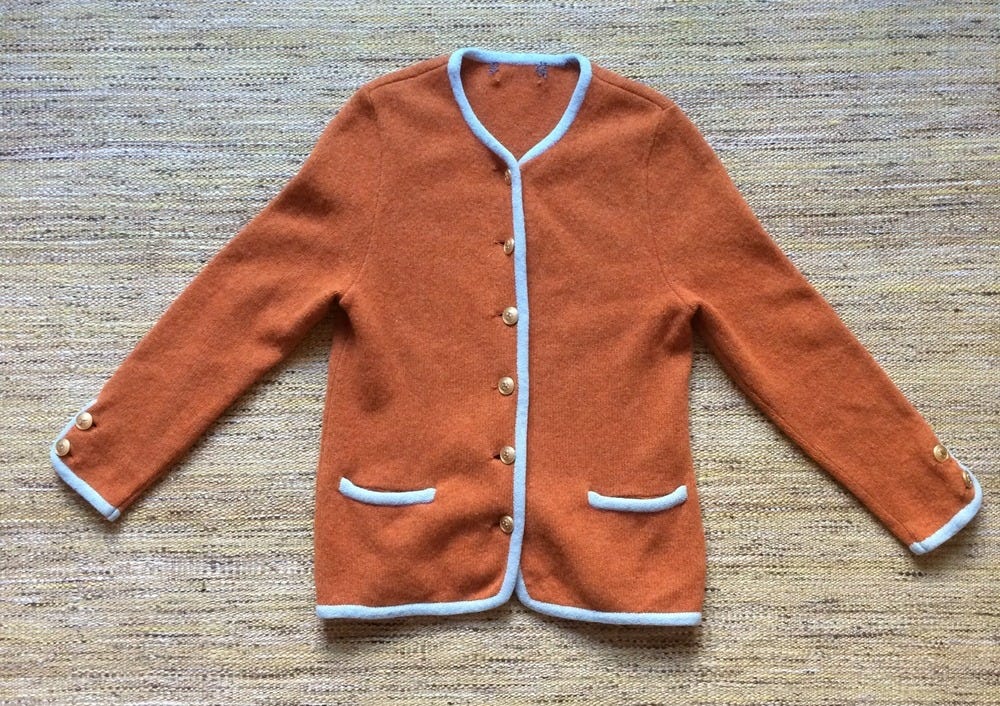
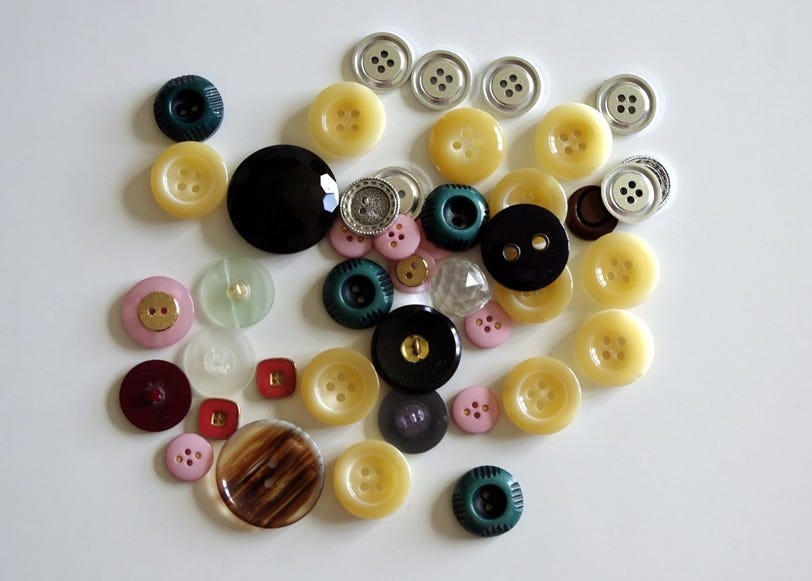
I replaced the offending flashy buttons with some nice old orange ones that I had in my stash. As buttons go, they’re not the most exciting but they blend in which makes the cardy more versatile. I didn’t have enough of the orange buttons to sew some on the sleeves too, so I stitched some chunky green vintage ones on the cuffs which makes it more interesting.
It might not be the most dramatic transformation I’ve featured on The Mending Kit but not everyone knows how to do simple repairs like button replacements, so it’s an important fix to feature. Tonnes of garments turn up in charity shops with missing buttons and I’m sure many wouldn’t be donated if the owner knew how to replace them.
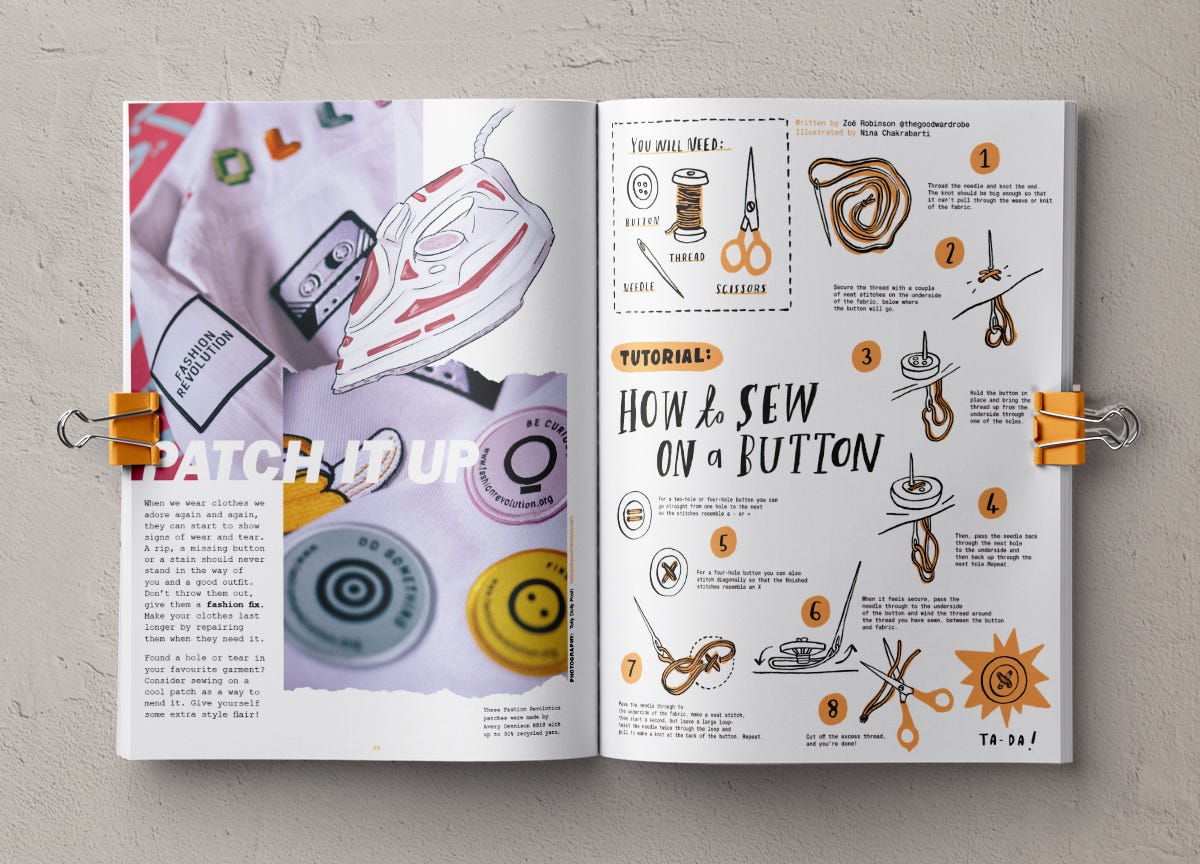
When it comes to a simple project like sewing on a button there are a surprising number of different ways it can be done, though some will work better than others. A few years ago I was asked to create a ‘how to sew on a button’ guide for Fashion Revolution’s Zine. This is how I usually sew on a button. There are other methods available!
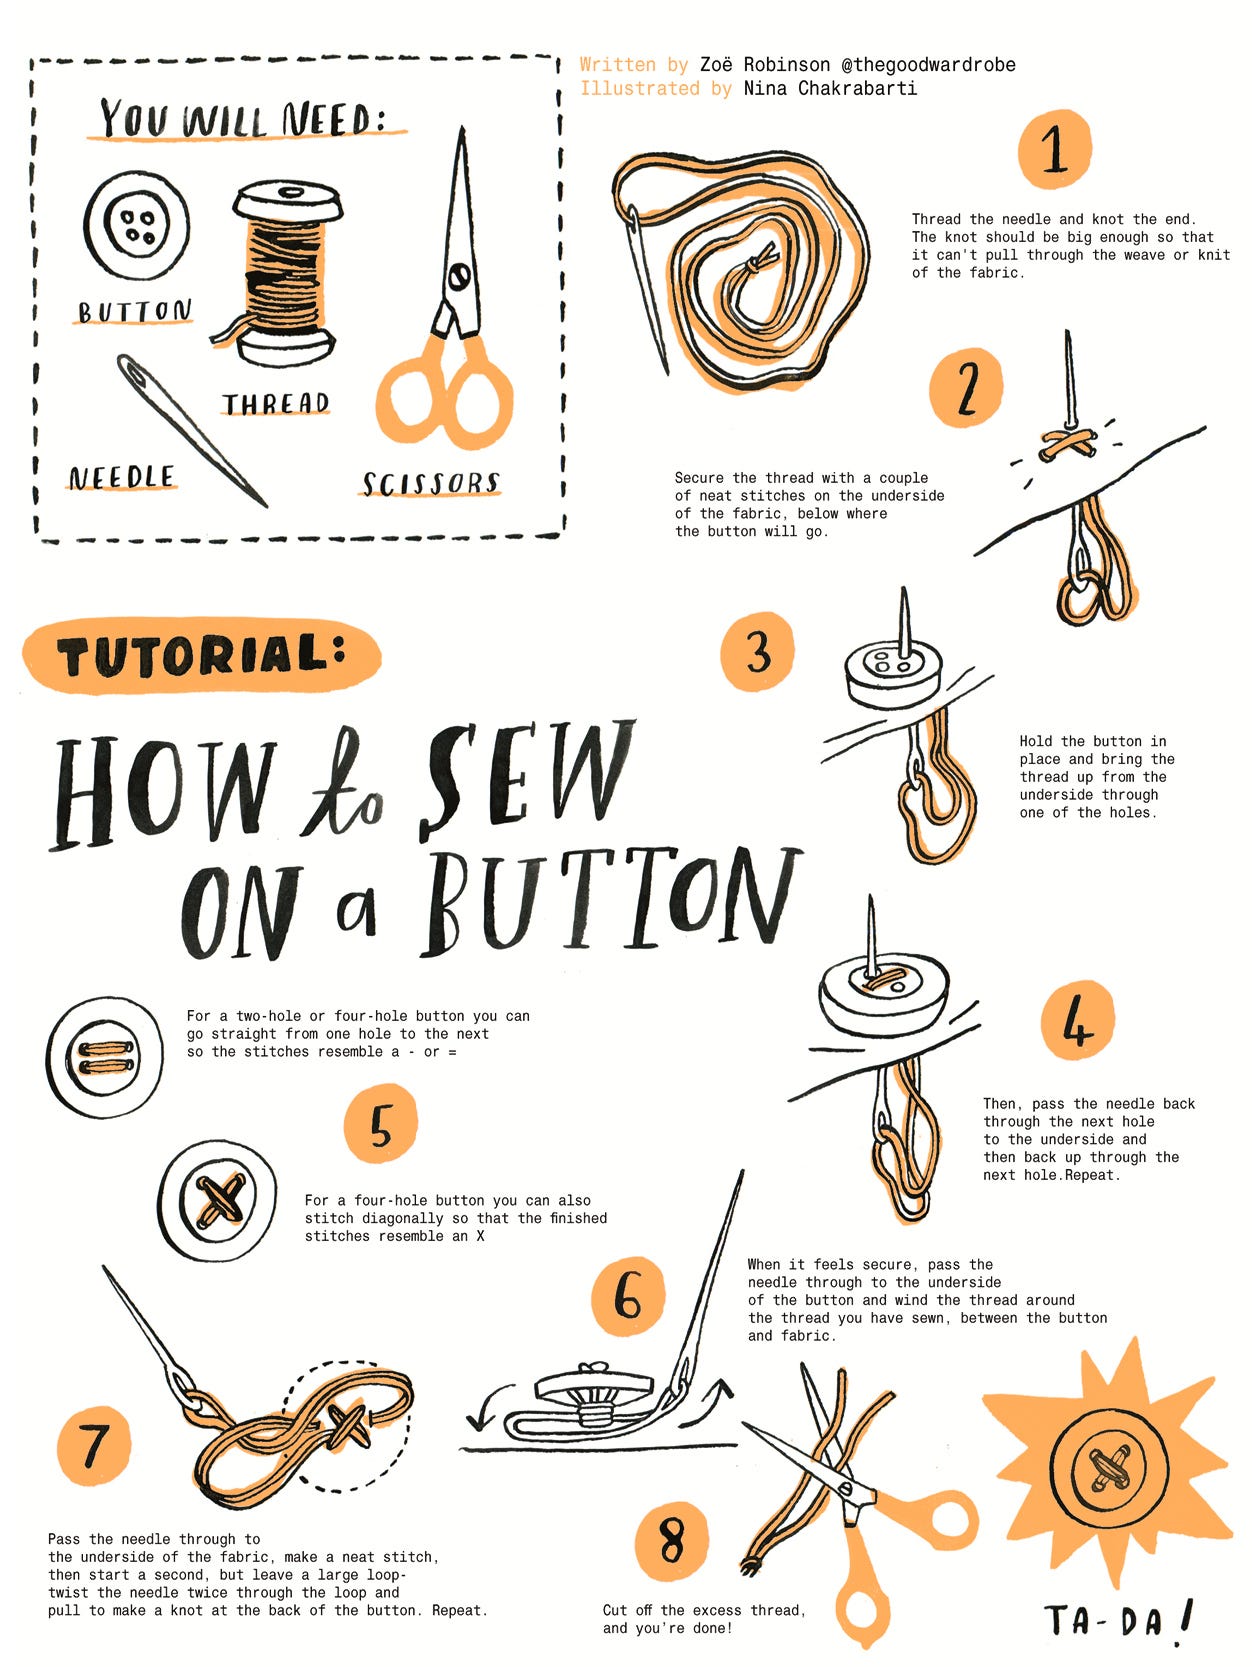
Here’s a more detailed run down of how to sew on a button:
1. Choose a needle the right size that will fit easily though the holes in the button. Thread the needle and knot the end of the thread by twisting a few times around your index finger and pulling at the end (the knot should be big enough so that it can’t pull through the weave or knit of the fabric)
2. Secure the thread with a couple of neat stitches on the underside of the fabric, below where the button will go.
3. Hold the button in place (in line with other buttons and the buttonhole) and bring the thread up from the underside through one of the holes. Then pass the needle back down through the next hole to the underside and then back up through the first hole.
4. For a two-hole button or shank button (no holes on surface but a loop on the back through which the sew thread) you simply continue the process until the button feels very secure (8-10 times). For a button with 4 holes, stitch across it either diagonally - one way and then the other - so the finished stitches resemble an X, or go straight from one hole to the next, so the stitches resemble an = (about 5 times each way).
5. When it feels secure, pass the needle through to the underside of the button and wind the thread a few times around the thread you have sewn, between the button and the fabric. The button should feel firmly in place, but not so rigid that it warps the fabric or is hard to pass through the button hole.
6. Pass the needle through to the underside of the fabric, make one neat stitch, then start to make a second but leave a large loop – twist the needle twice through the loop and pull to make a knot at the back of the button. Snip the thread and you’re done!
My mending kit for this repair:
Needle
Orange buttons
Green buttons
Orange thread
Green thread
Snips or scissors
What’s coming up this week:
My mending pile: I’ve unearthed an old jersey top that needs some surgery. The arms have shortened over time so I think I’ll chop the sleeves off as I need a new vest top. I’ll keep the sleeves for future patching projects.
Next week on The Mending Kit: I’m all out of inspiration but there will be something. Watch this space.
Thank you for reading The Mending Kit. If you’re enjoying it, please do share it, ‘like’ it, subscribe, or leave a comment below. It really means a lot to get feedback!