


I love that there’s so much versatility with visible mending. We can approach it as a way to highlight a garment’s scars by patching behind a hole using decorative stitching. Or we might decide to darn over the damage, making a tidy feature of the repair. Some people favour visible, yet subtle mends, while others choose starkly contrasting colours or materials to make a strong statement.
And then there’s the kind of repair that’s like a little work of art. A true feature that flatters the garment’s original form through use of complementary shades and textures. It doesn’t look out of place, yet it is unique.


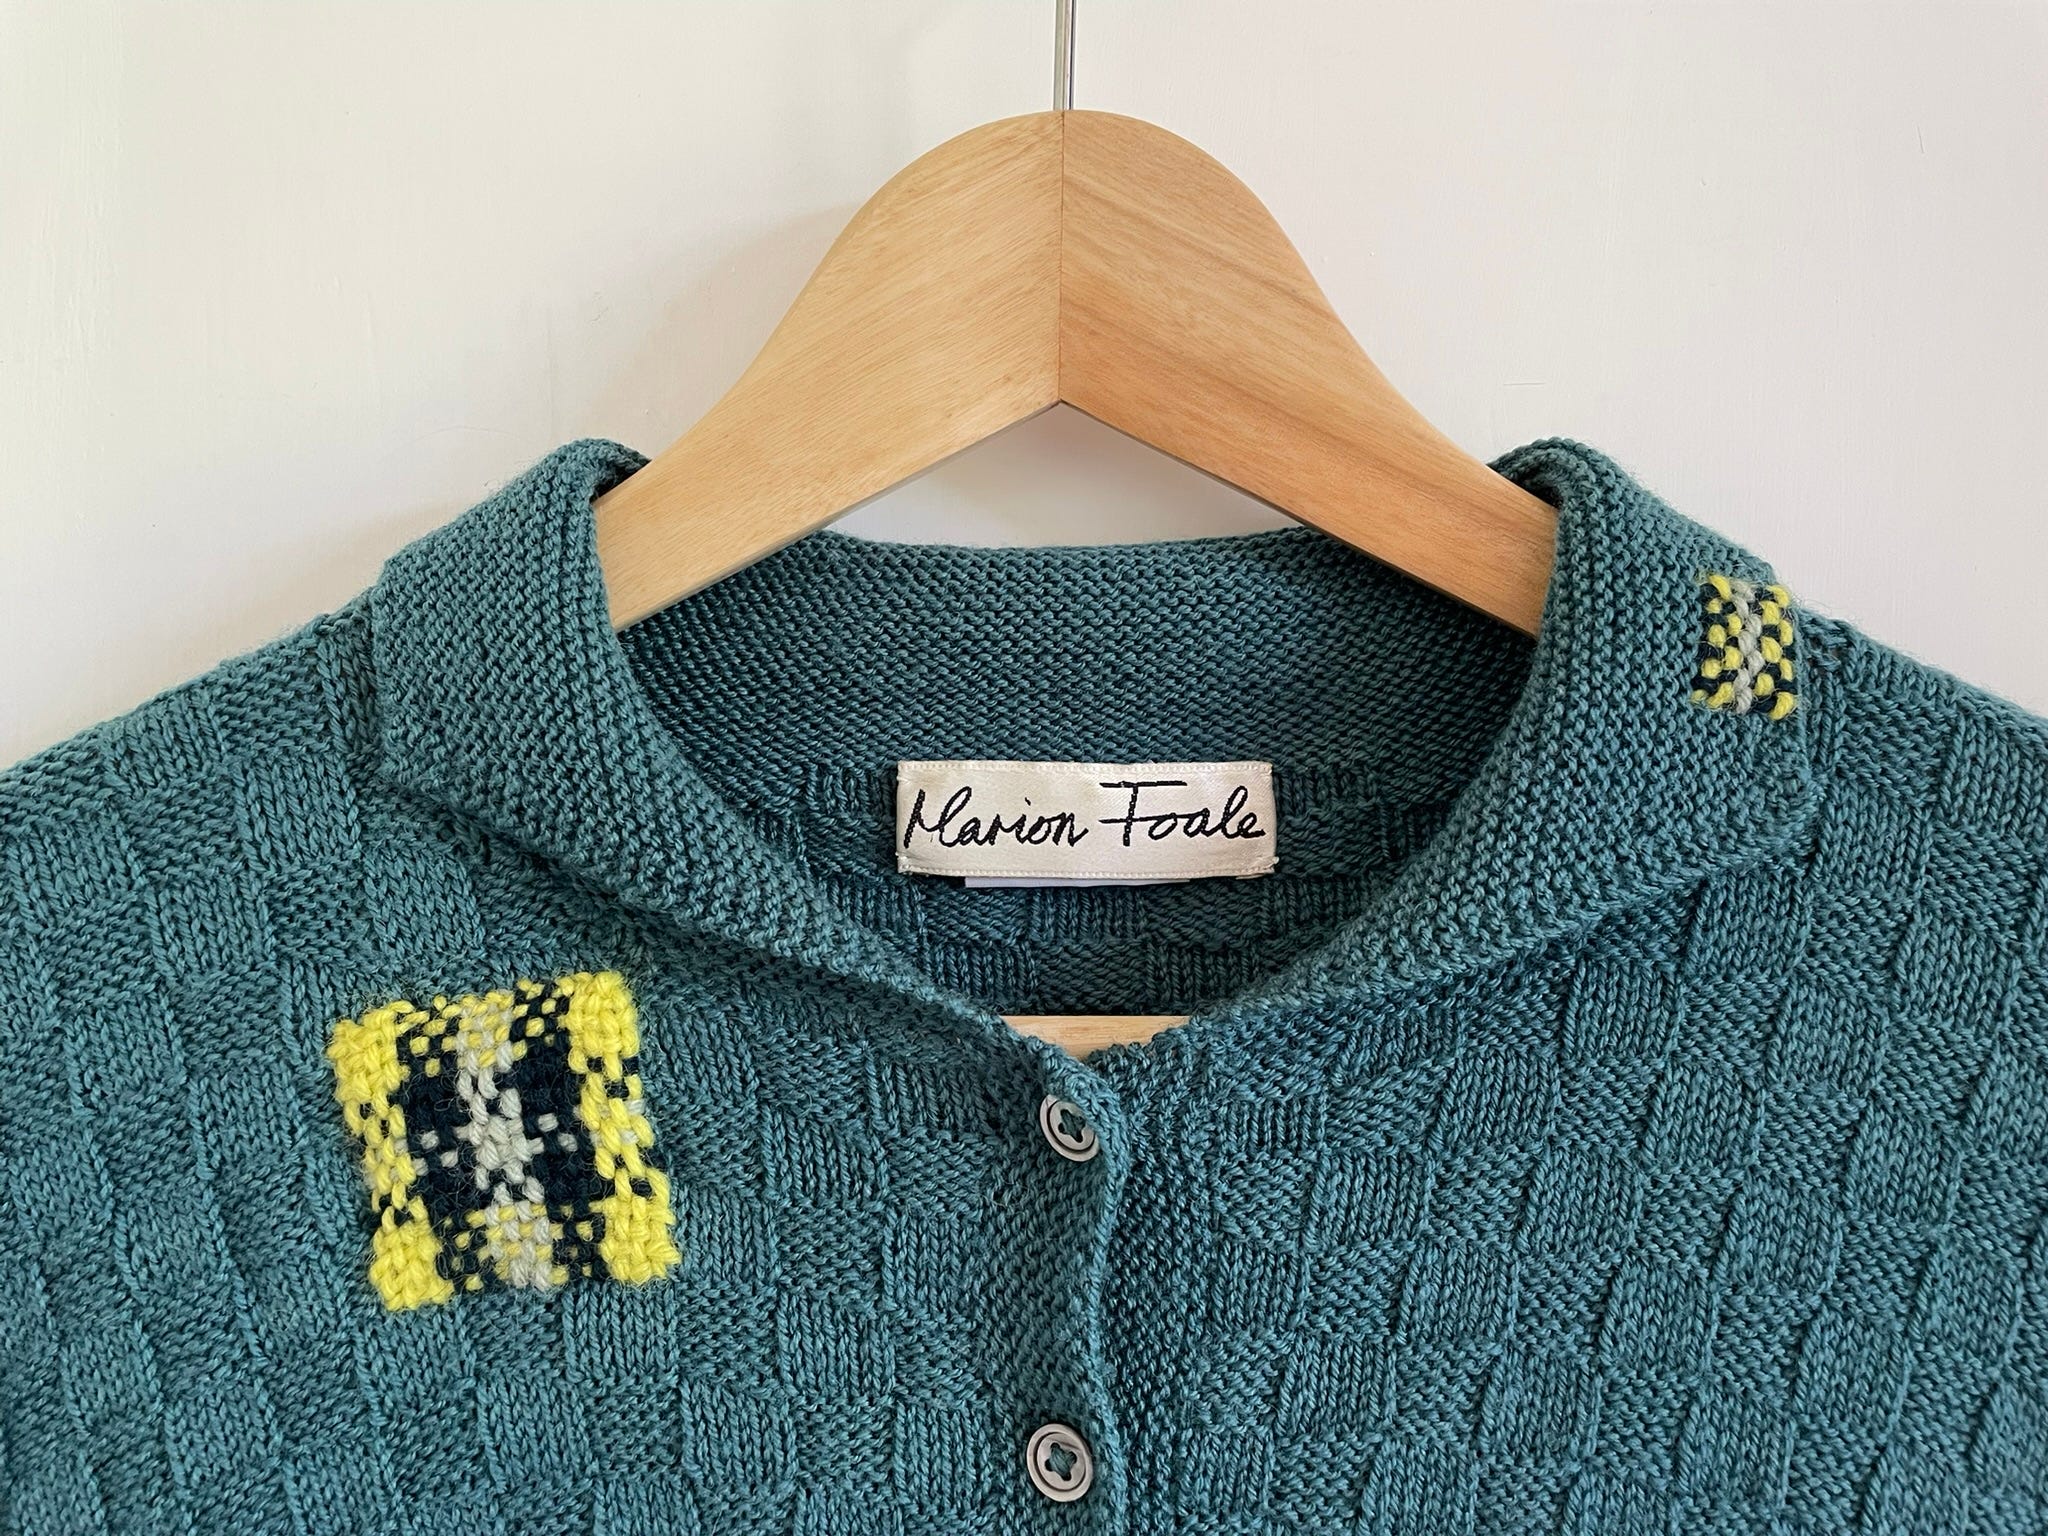
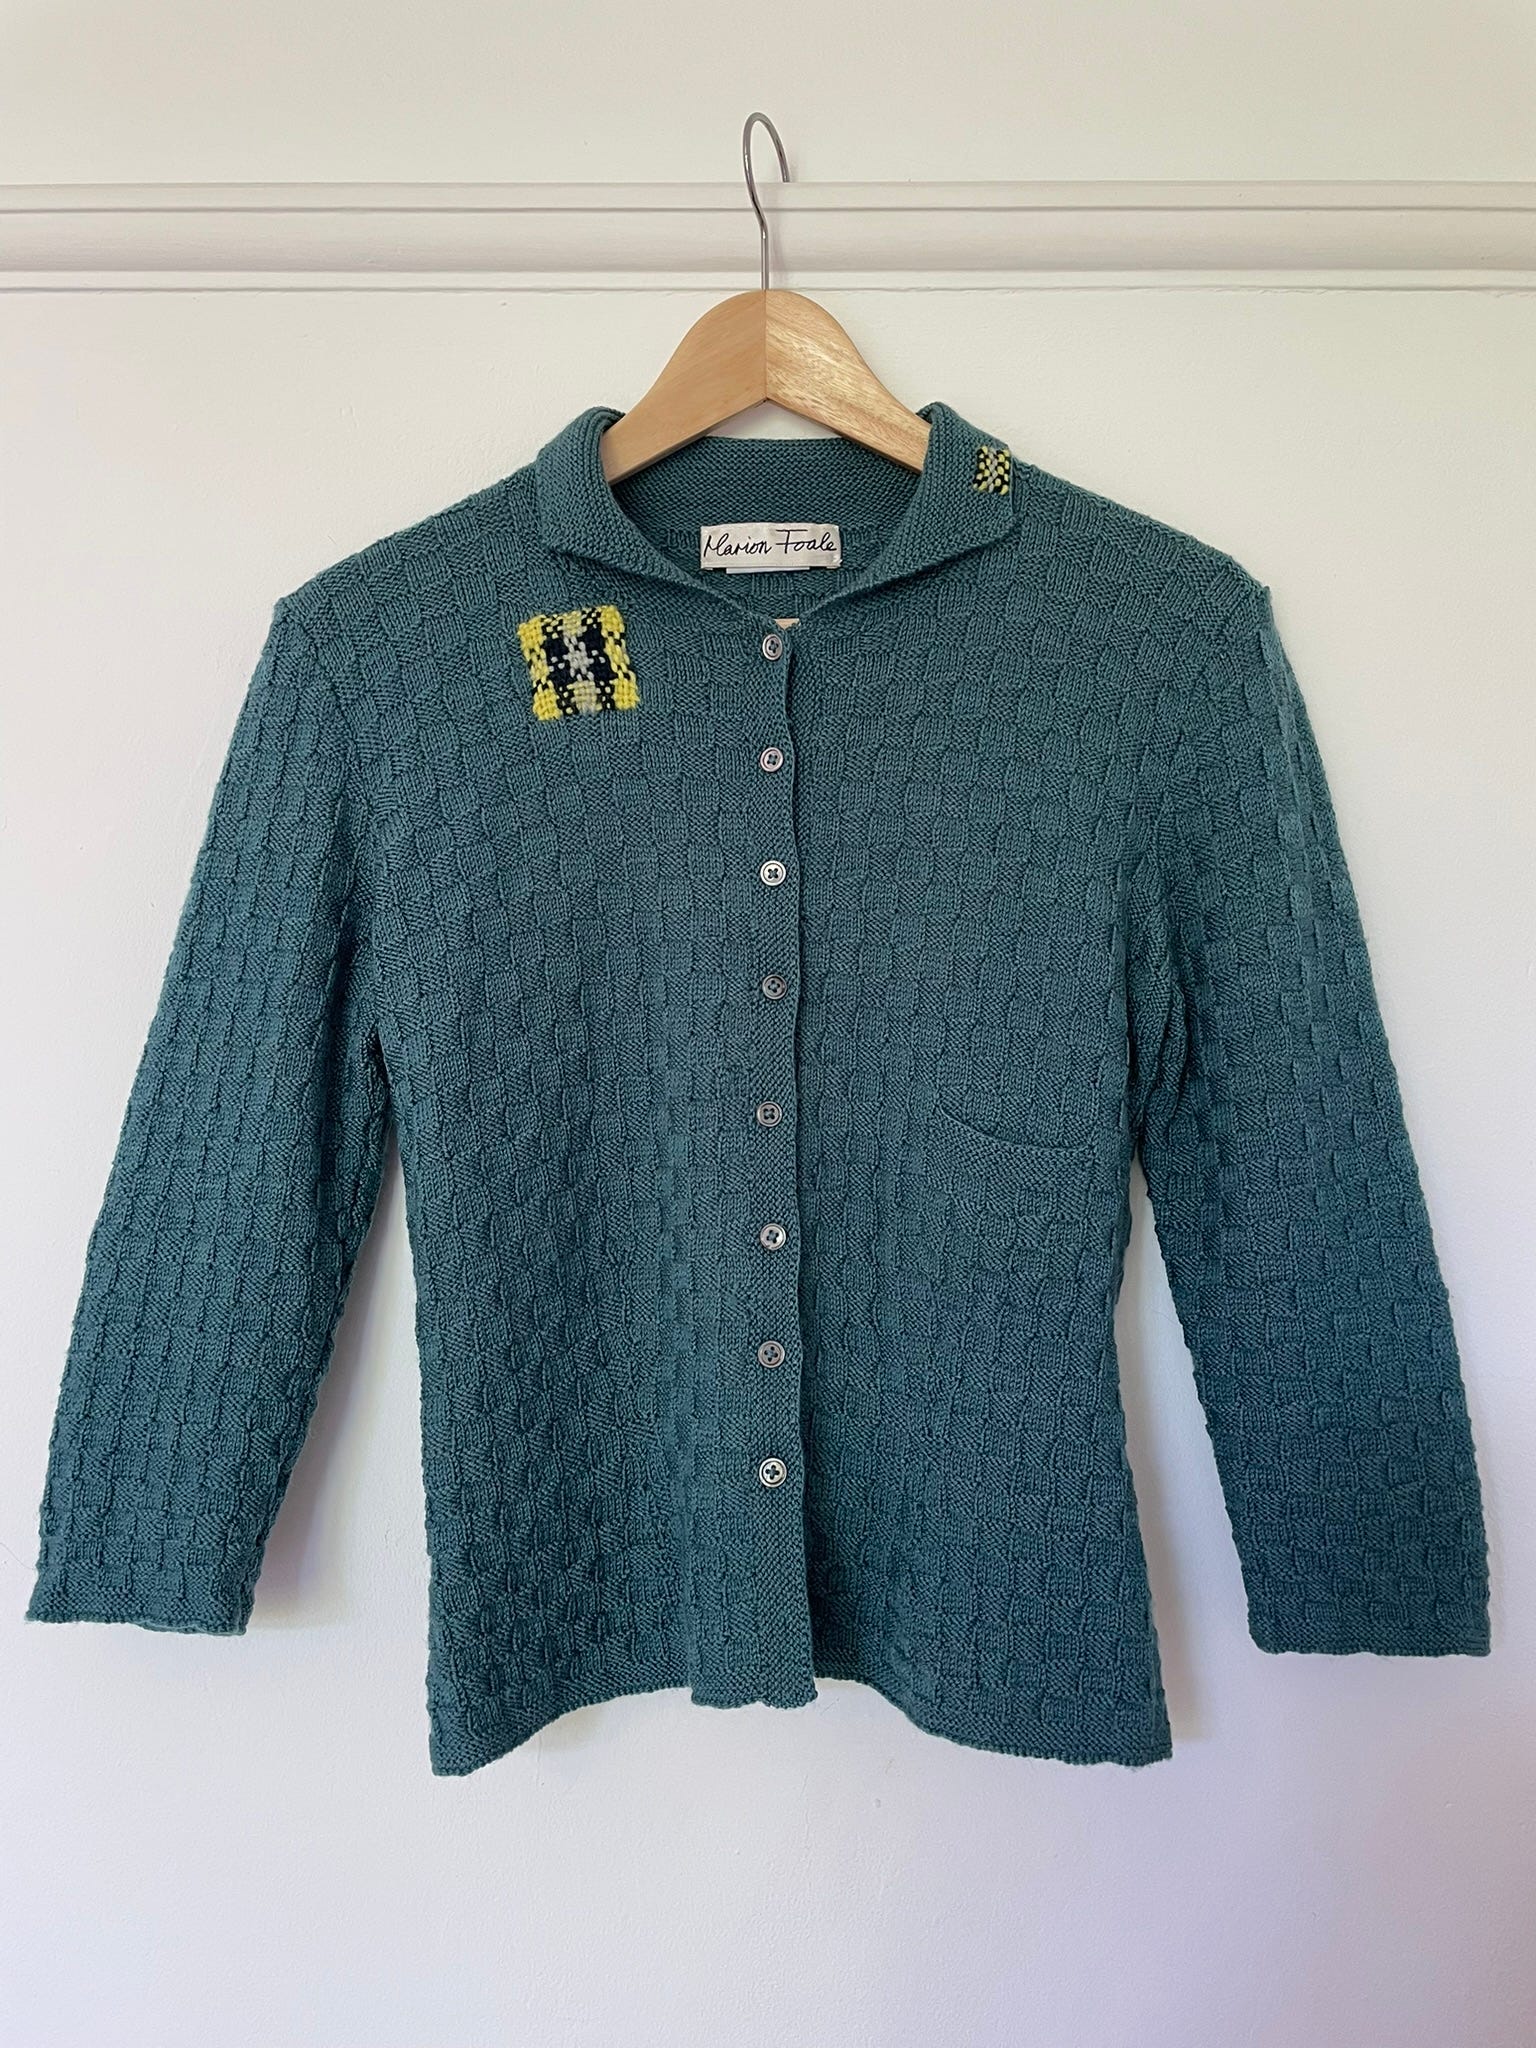
That’s the kind I chose for the second repair on my vintage Marion Foale cardigan. In last week’s post I shared a small darn on the collar, and the larger repair is designed to complement that. This darn honours the cardigan’s knit, colour and style whilst being unapologetically bold. The combination - the bringing together of old and new - is a celebration of the original design and the life it has lived.
A previous owner had already carried out a repair that was, I suspect, designed to blend in, but was wonky and not wholly effective. Rather than undo their stitches I chose the leave them in place as they were securing much of the damage. I knew I would be able to create a decorative darned patch on top, covering the offending area.


Here's how I did this repair:
Before beginning I planned the colour scheme and design. I wanted to create squares within the darn to reflect the design of the knit.
Using a Speedweve darning loom I created the warp, first with four vertical rows of yellow.
I then created rows of dark blue followed by pale green, then dark blue again and finally more yellow.
Next I began weaving the weft horizontally through the warp using the yellow wool.
After four rows of yellow weft, I moved on to dark blue, pale green and so on.
Although I did plan out the colours and design at the start, I was slightly adapting the design as I went because I didn’t know exactly how many rows of weft I would need to fill the patch. Before I got to the pale green weft rows, I reviewed my progress and decided how many rows of each colour I would use for the rest of the darn. At that stage I could have adapted to do fewer or more green rows for example.
The weft doesn’t naturally sit straight and it takes some encouraging to move it down the warp to straighten it. There are various techniques for this, but the blunt end of a needle can help to nudge it down between the warp rows. And pushing it down the warp with a horizontal long think needle can also work well.
Once I’d completed all the weft rows, I removed the Speedweve. I then stitched through each of the top loops to secure the top of the patch.
I carefully pulled the loose ends of wool through to the back of the darn and secured them by sewing them into the knit behind the patch.


My mending kit for this repair:
Speedweve darning loom with elastic bands
Darning needles – one long and sharp, one long and blunt
Snips / scissors
Anchor tapestry wool, dark blue no. 8840
DMC mothproof tapestry wool, pale green
Yellow tapestry wool, brand unknown
What’s coming up this week:
My mending pile: an embroidered t-shirt of mine got caught on something and has a lot of loose threads which I need to tidy. Not a particularly exciting repair but necessary if I’m going to wear it without looking like I’ve walked through a hedge.
Next week on The Mending Kit: a vintage straw hat repair.
Want to read some more of my posts about darning? You can find them here: Darns from The Mending Kit.
Thank you for reading The Mending Kit. If you’re enjoying it, please do share it, ‘like’ it, subscribe, or leave a comment below. It really means a lot to get feedback!